Painting the interior of your home is more than just adding a fresh coat of color. It involves careful preparation, the right tools, and skilled application for a smooth, lasting finish.
The process starts with preparing your walls, applying paint in even coats, and allowing each layer to dry properly.
As Painting Contractors Pretoria, we understand the unique conditions in Pretoria, Gauteng, from the dry winter air to the summer humidity. These factors can affect how paint adheres and dries.
We follow a method that ensures durability and a clean, polished look. Our approach covers everything from surface cleaning and repair to final touch-ups.
Whether you want to refresh a single room or update your entire home, knowing the steps involved helps you make informed decisions. Understanding the process shows how a well-planned painting job transforms a space and protects your walls.
Preparation for Interior Painting

We ensure a smooth and durable finish by focusing on accurate measurements, the right paint selection, and thorough surface preparation. Each step reduces the risk of uneven coverage and peeling.
Assessing and Measuring the Space
We start by walking through the room and noting any damage, such as cracks, peeling paint, or damp spots. These issues must be repaired before painting begins.
Next, we measure each wall’s height and width to calculate the total square meter coverage. This helps us determine how much high-quality paint is needed.
We subtract the area of windows, doors, and built-in fixtures from the total. This ensures accurate paint quantity estimates.
For complex layouts, we create a simple sketch with measurements. This is useful for multi-room interior painting projects.
Selecting Paint Colors and Finishes
We guide homeowners in choosing colors that suit the room’s lighting and purpose. Lighter shades can make rooms feel more open, while deeper tones can create a warmer atmosphere.
We recommend testing sample swatches on the wall and observing them at different times of day. This helps you see how light affects the color.
The finish is important. Matte and flat finishes hide wall imperfections but are less stain-resistant. Eggshell and satin offer a balance between durability and appearance, while semi-gloss works well for trim and high-moisture areas.
We often suggest pairing a neutral base with an accent wall for added interest.
Gathering Tools and Materials
Having the right tools ready before starting saves time and prevents interruptions. Common items include:
| Tool/Material | Purpose |
|---|---|
| Rollers & trays | Cover large wall areas evenly |
| Angled brushes | Cut in along edges and corners |
| Painter’s tape | Protect trim and edges |
| Drop cloths | Shield floors and furniture |
| Step ladder | Reach high spots safely |
We use high-quality paint for better coverage and longevity. In Pretoria’s climate, this can reduce the need for frequent touch-ups.
Other essentials include spackling compound for filling holes, sandpaper for smoothing surfaces, and primer for better adhesion.
Cleaning and Protecting Surfaces
Even if walls look clean, dust and grease can prevent paint from sticking. We wash surfaces with a mild detergent or a trisodium phosphate (TSP) cleaner for stubborn dirt.
Cracks and holes are filled, then sanded smooth. Loose or peeling paint is scraped away to create a stable base.
We protect floors and furniture with drop cloths and use painter’s tape around trim, switches, and outlets. Removing outlet covers before painting ensures a cleaner finish.
Good ventilation is important. We open windows or use fans to help paint dry evenly and reduce odors.
Step-by-Step Interior Painting Process

We follow a clear sequence to ensure even coverage and smooth finishes. This includes preparing surfaces, applying base layers, and using proper techniques for clean lines.
Priming Walls and Ceilings
We inspect the walls and ceilings for cracks, stains, or peeling paint. Any damage is repaired and sanded smooth.
A primer is applied to create a uniform surface and help the paint adhere. We use stain-blocking primer for water marks or darker colors.
We choose a primer suited to the surface material, such as drywall or plaster. This step can reduce the number of topcoats needed.
Primer is applied evenly with rollers for large areas and brushes for edges. Once dry, we lightly sand rough spots.
Cutting In Edges and Corners
We use an angled brush to paint along edges, corners, and trim where rollers cannot reach. This step creates a clean line between walls, ceilings, and adjacent surfaces.
We avoid overloading the brush to prevent drips. By cutting in first, we can blend these areas with the rolled sections.
We work in small sections so the cut-in paint stays wet when we roll the main areas. This helps maintain a consistent finish.
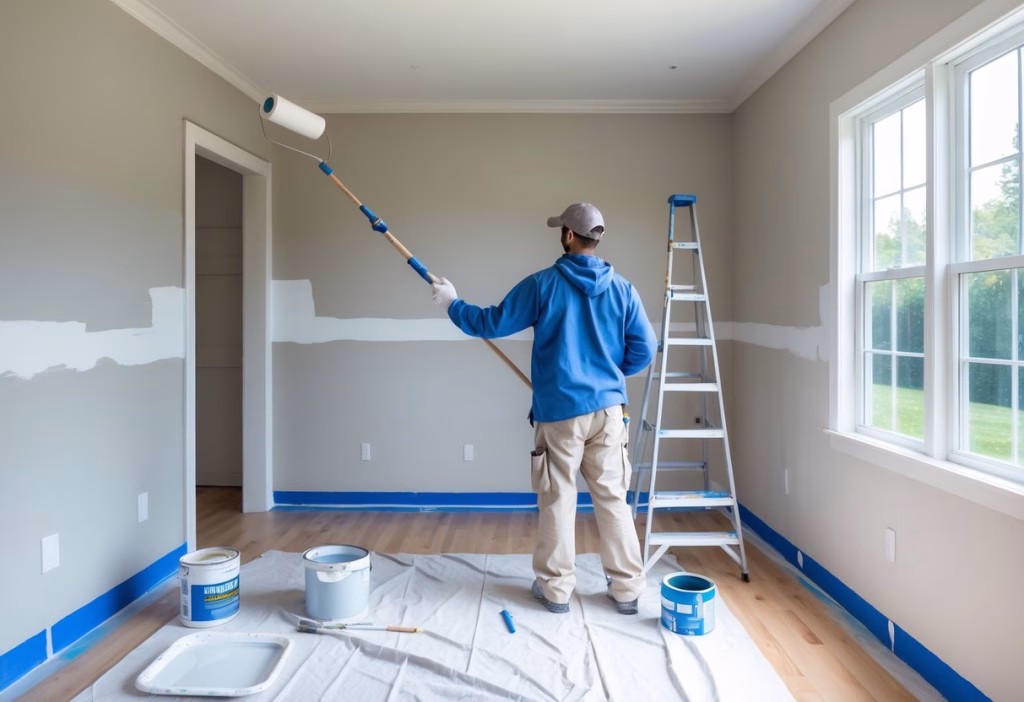
Rolling Paint onto Surfaces
For large wall and ceiling areas, we use rollers with the correct nap length for the surface. Smooth walls need shorter naps; textured walls need longer naps.
We load the roller evenly and roll off excess paint in a tray. The paint is applied in a “W” or “M” motion, then filled in.
This method spreads the paint evenly and prevents lap marks. We maintain a wet edge to avoid visible lines.
Using high-quality paint helps achieve better coverage and improved durability.
Applying Additional Coats and Touch-Ups
Once the first coat dries, we inspect for thin spots or missed edges. If needed, we apply a second coat for full coverage.
Some colors may require a third coat. After the final coat dries, we check all surfaces under good lighting and touch up small imperfections.
We remove painter’s tape carefully to avoid peeling fresh paint. All tools are cleaned for future use.
Frequently Asked Questions

What are the essential steps for preparing a room before painting?
We start by removing or covering furniture and floors with drop cloths. We clean the walls to remove dust and stains.
Cracks and holes are filled, sanded smooth, and primed where needed.
Can you outline the typical sequence of tasks for painting a room?
We begin with surface preparation, followed by primer if required. Next, we cut in edges and corners before rolling paint onto larger wall sections.
Once the first coat dries, we inspect, touch up, and apply a second coat.
What materials and tools are needed to paint an interior wall?
We use quality brushes, rollers, and painter’s tape for clean lines. Drop cloths protect floors and furniture.
We also keep filler, sandpaper, primer, and the selected paint on hand.
How does one ensure a professional finish when painting a room?
We focus on even application and consistent coverage. Using the right brush or roller for each surface helps avoid streaks.
We allow adequate drying time between coats.
What are the best practices for applying paint to walls?
We maintain a wet edge to avoid lap marks. Starting from the top and working down ensures drips can be smoothed out.
We apply paint in steady, overlapping strokes for an even finish.
What safety precautions should be taken when painting indoors?
We keep the room well-ventilated by opening windows or using fans.
We wear masks when sanding or using strong-smelling paints.
Following healthy indoor painting practices helps reduce exposure to fumes. This is especially important for children and people with breathing issues.